
My original idea has been transformed a few times over the past few weeks but has retained the original concept as far as working with organic material, sound and triggers that don’t involve direct touch to be activated.
I worked on the circuitry and code for the Whale Theremin to get the sound and effects triggering with 2 photosensors and a button. Once the basic code and circuitry were working, I shifted my focus to trying to get the Adafruit Capacitive Touch Shield working to trigger organic materials that are conductive such as a fruit or plant.

For some reason this proved to be very buggy and I spent too much time trying to make it work, it would sporadically read the sensors, I caught it when it momentarily worked below.


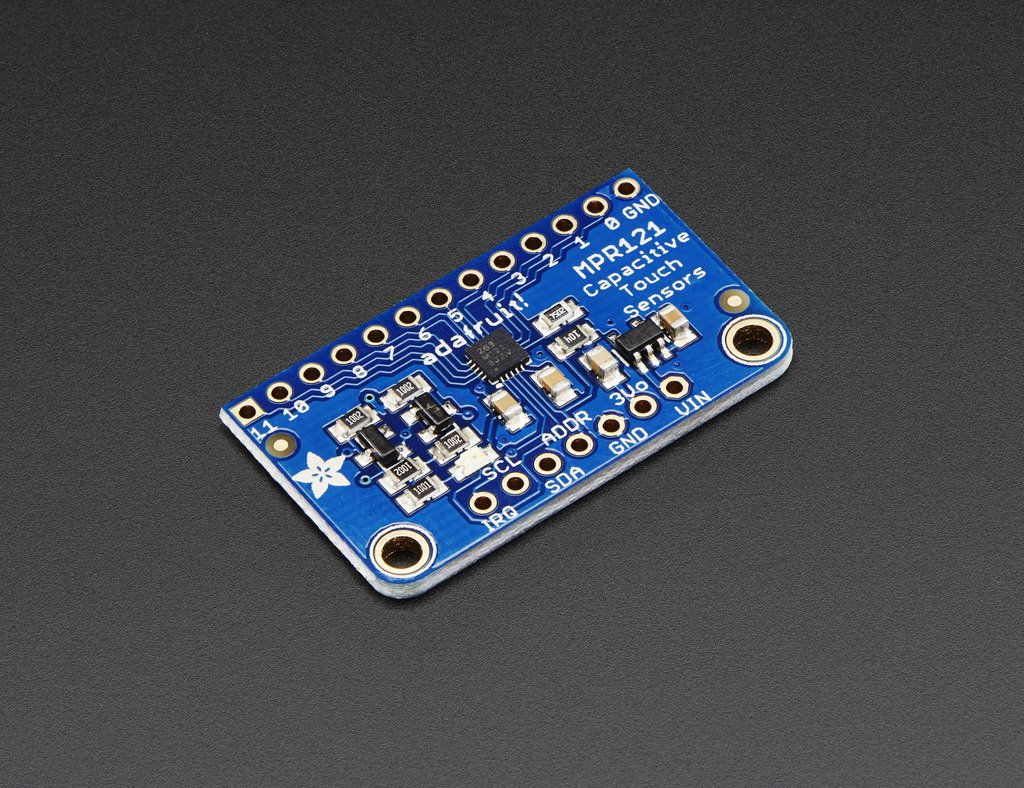
I then decided to try to get this to work longer wouldn’t be a wise use of my time and I decided to order the Adafruit Capacitive Touch break out instead, which was relatively smooth to set up and start a reading from.
I decided however that I really wanted to work with plants and midi, so it was more of a reading of the state of the plant’s microelectrical currents than just on and off.
I tried to model the galvonometer from MIDISprout’s circuitry. They have a more complex system that includes a potentiometer that effects specific parameters within MIDI and corresponding LED lights that I wasn’t interested in at this moment, my main objective was to show how plants electrically/energetically have reactions to touch / the environments around them and to have that translated into MIDI and then sound. http://support.midisprout.com/index.php?topic=8.0
At Tom Igoe’s advise, I attempted to replicate just the galvonometer aspect of the circuit and to make a more straightforward MIDI communication. I spent several days on this and was unable to get the galvonometer to work properly. This is something I definitely want to revisit in the future and get to work.
I then chose to re-focus my attention onto the whale theremin coding and fabrication further and table both of the touch sensors until the theremin felt complete. There were a couple places that I had problems with my code and Jim, Chino and Mathura (*insert last names*) were very helpful in explaining certain hiccups in my code and/or offering help on how to execute certain functions successfully. I expanded on the visuals in p5 including mapping the 3 color channels to the 2 light sensors. red is mapped to photosensor 1, green to photosensor 2 and blue to both of them. Leon (*insert last name*) helped me execute this properly.
FABRICATION & EXECUTION
There has been some challenges with the construction of the piece mainly since I chose to project on top of the water. Water is very heavy and obviously damaging around electronics. I envision this project to be at a larger scale projecting onto a larger body of water, but currently I’m using a 12 x 12 x 12 acrylic box for now. I’ve lined the seams with DAP Flexible Clear Sealant and have ordered a project box that will sit underneath the box where the arduino will be housed. The photosensors will be on either side of the box.
I found the best remedy for using photosensors and a light projection that requires a darker room is using 2 flashlights, also making the photosensor readings more accurate.
I might switch to distance sensors, as recommended by Tom, but my priorities now are getting the fabrication and execution running as smoothly as possible. I haven’t had that much difficulty with the photosensors because of the constraint function in the P5 code and the relative ease of calibrating according to the light level in a particular room as well.
AUDIO OUTs
I’ve done a lot of research with various waterproof speakers and have ordered 3 now, the smaller one works best so far but is not powerful enough for this amount of water. The most powerful one cuts out when it’s underwater for too long, so I have a 4th one on its way that is supposed to be very powerful and is aesthetically in line with the overall piece.
I figured out how to do a multi speaker out from a macbook and think I’d like to have an audio output inside the water and also outside the water for increased sonic immersion.
USER TESTING FEEDBACK & SPEAKER LOGISTICS
I had the plant present during user testing to see the feedback with it included and everyone suggested using the plant for another project. I’m still interested in triggering the plant through underwater sounds and vibrations but probably will not use whale sounds or imagery.
I was attempting to use my own projector for the playtesting but was unable to and the internet kept going out. For my ICM class in the afternoon I was able to successfully project the water onto the surface of a fish tank and have the theremin trigger the sounds and colors, unfortunately I don’t have documentation because i was making sure everything was running smoothly.
The main feedback I got was how to make the speaker could look good and not interfere with the whale projection, Fanchi suggested netting so it would look more aquatic and it wouldn’t muffle the sound. I purchased a white speaker, since I’ll be making the bottom of my box white for optimal projection, so it can blend in as much as possible. That speaker should be arriving tonight. Another Idea I have is to put a layer of white cotton material on top so the sound can go through but the projection still has a smooth white surface. The speaker also needs to be weighted down so it stays at the bottom of the tank. I think I will be using rocks to do so.
THINGS LEFT TO DO:
- wait for final fab materials to come in and make final construction: arduino box, lights for the photosensors, alternate waterproof speaker, netting for speaker,
- include schematics
- update blog further with work process
- test out new speaker and multi speaker configuration
- test water in box, make sure nothing is leaking
- apply Maptastic to my p5 sketch so that it projects to the exact dimensions of water surface
- test projection in new container with Maptastic applied
Alternate water holder if acrylic box doesn’t work:


This would need to be set up near the sink in the kitchen.
