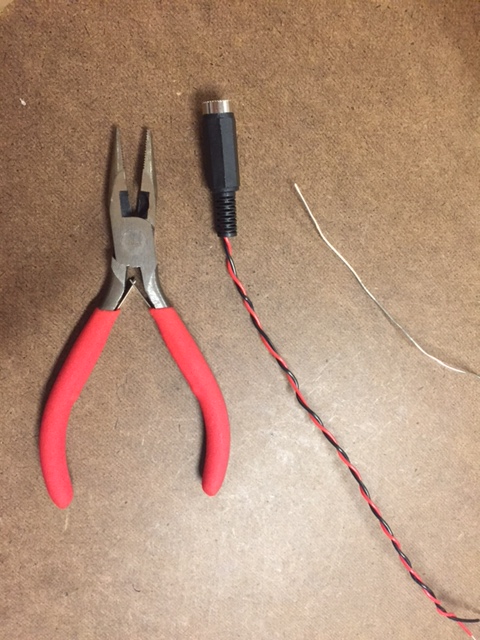
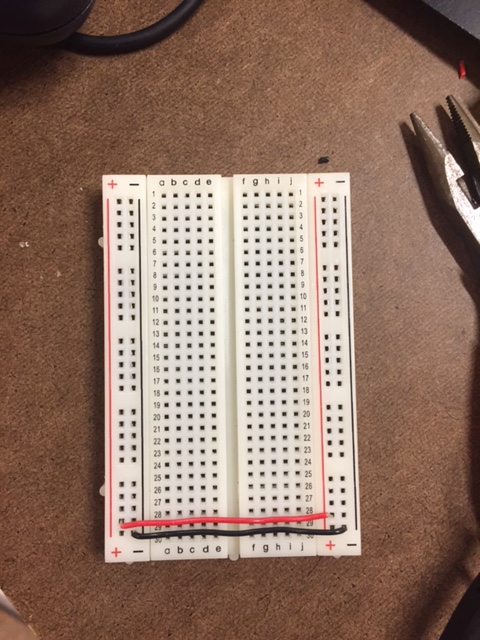
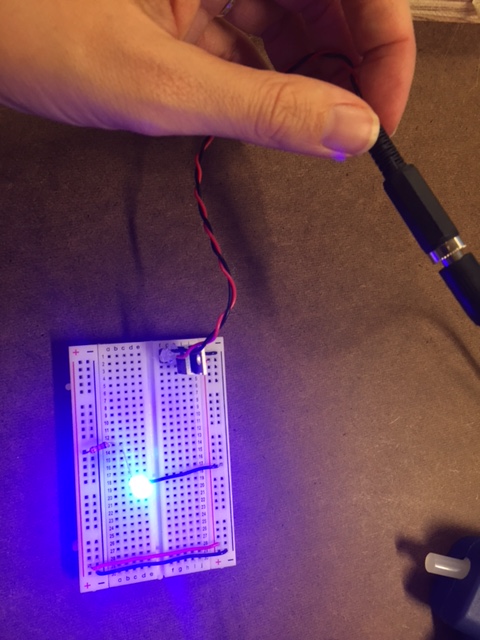
Things went pretty smoothly with these labs. In the first lab I soldered a female dc and powered the breadboard directly using a voltage stabilizer and a 580 resistor with an LED. I then added a button switch to the circuit for on/off function. 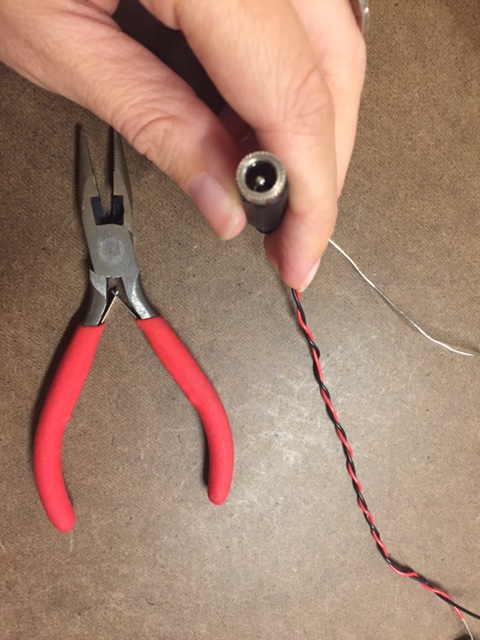


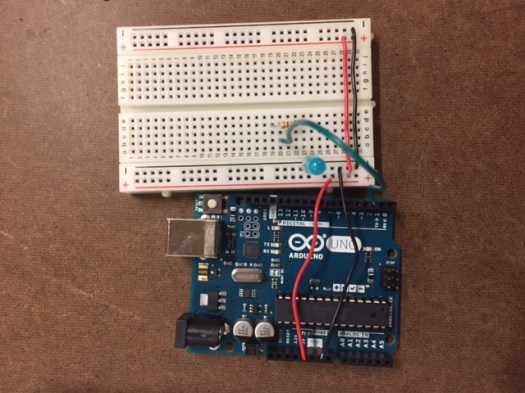
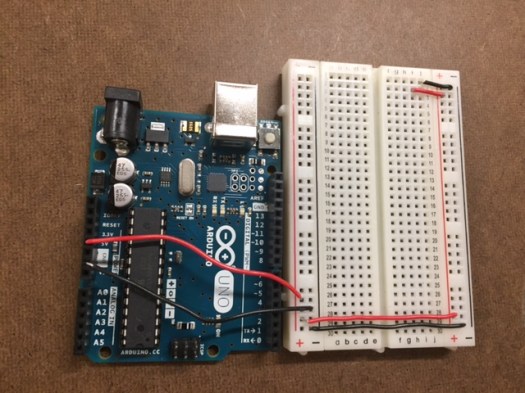
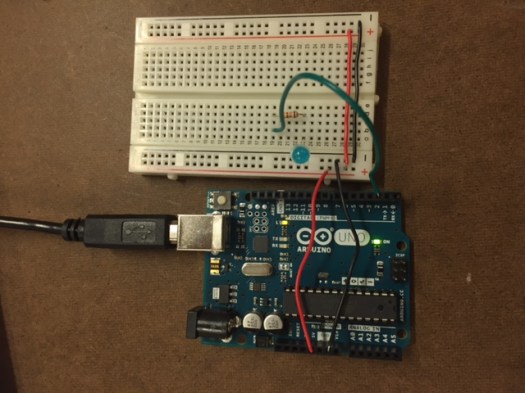
I then connected the breadboard and Arduino Uno with an LED circuit, using the same resistor and used the USB for power and to communicate with the laptop. I ran the code in the Arduino software to make the LED blink.